Google Workspace User Provisioning with SCIM
Last updated: June 22, 2026
Overview
This guide provides step by step instructions for setting up SCIM provisioning via Google Workspace groups using WorkOS.
Important: When SCIM provisioning is enabled, user roles assigned manually in Numeric will be overridden by the roles defined in your Google Workspace directory during sync. For example, if you manually assign a user an Admin role in Numeric but they are set to Staff in Google Workspace, their role will revert to Staff when the SCIM sync runs. To maintain persistent role assignments, ensure users are assigned to the correct groups in Google Workspace and contact solutions@numeric.io to configure the backend role mapping.
Role Hierarchy
When users belong to multiple groups with different roles, they will be assigned the highest role in the following order of precedence (from highest to lowest):
Administrator
Manager
Staff
Viewer
Unapproved
Setting up SCIM via Google Workspace Groups
Receive the WorkOS Setup Link
Numeric will send you a WorkOS setup link for configuring directory sync.
If you haven’t received the link, please contact solutions@numeric.io for assistance.
Share the Setup Link with Your IT Admin
Forward the WorkOS setup link to your Google Workspace IT administrator, as applicable.
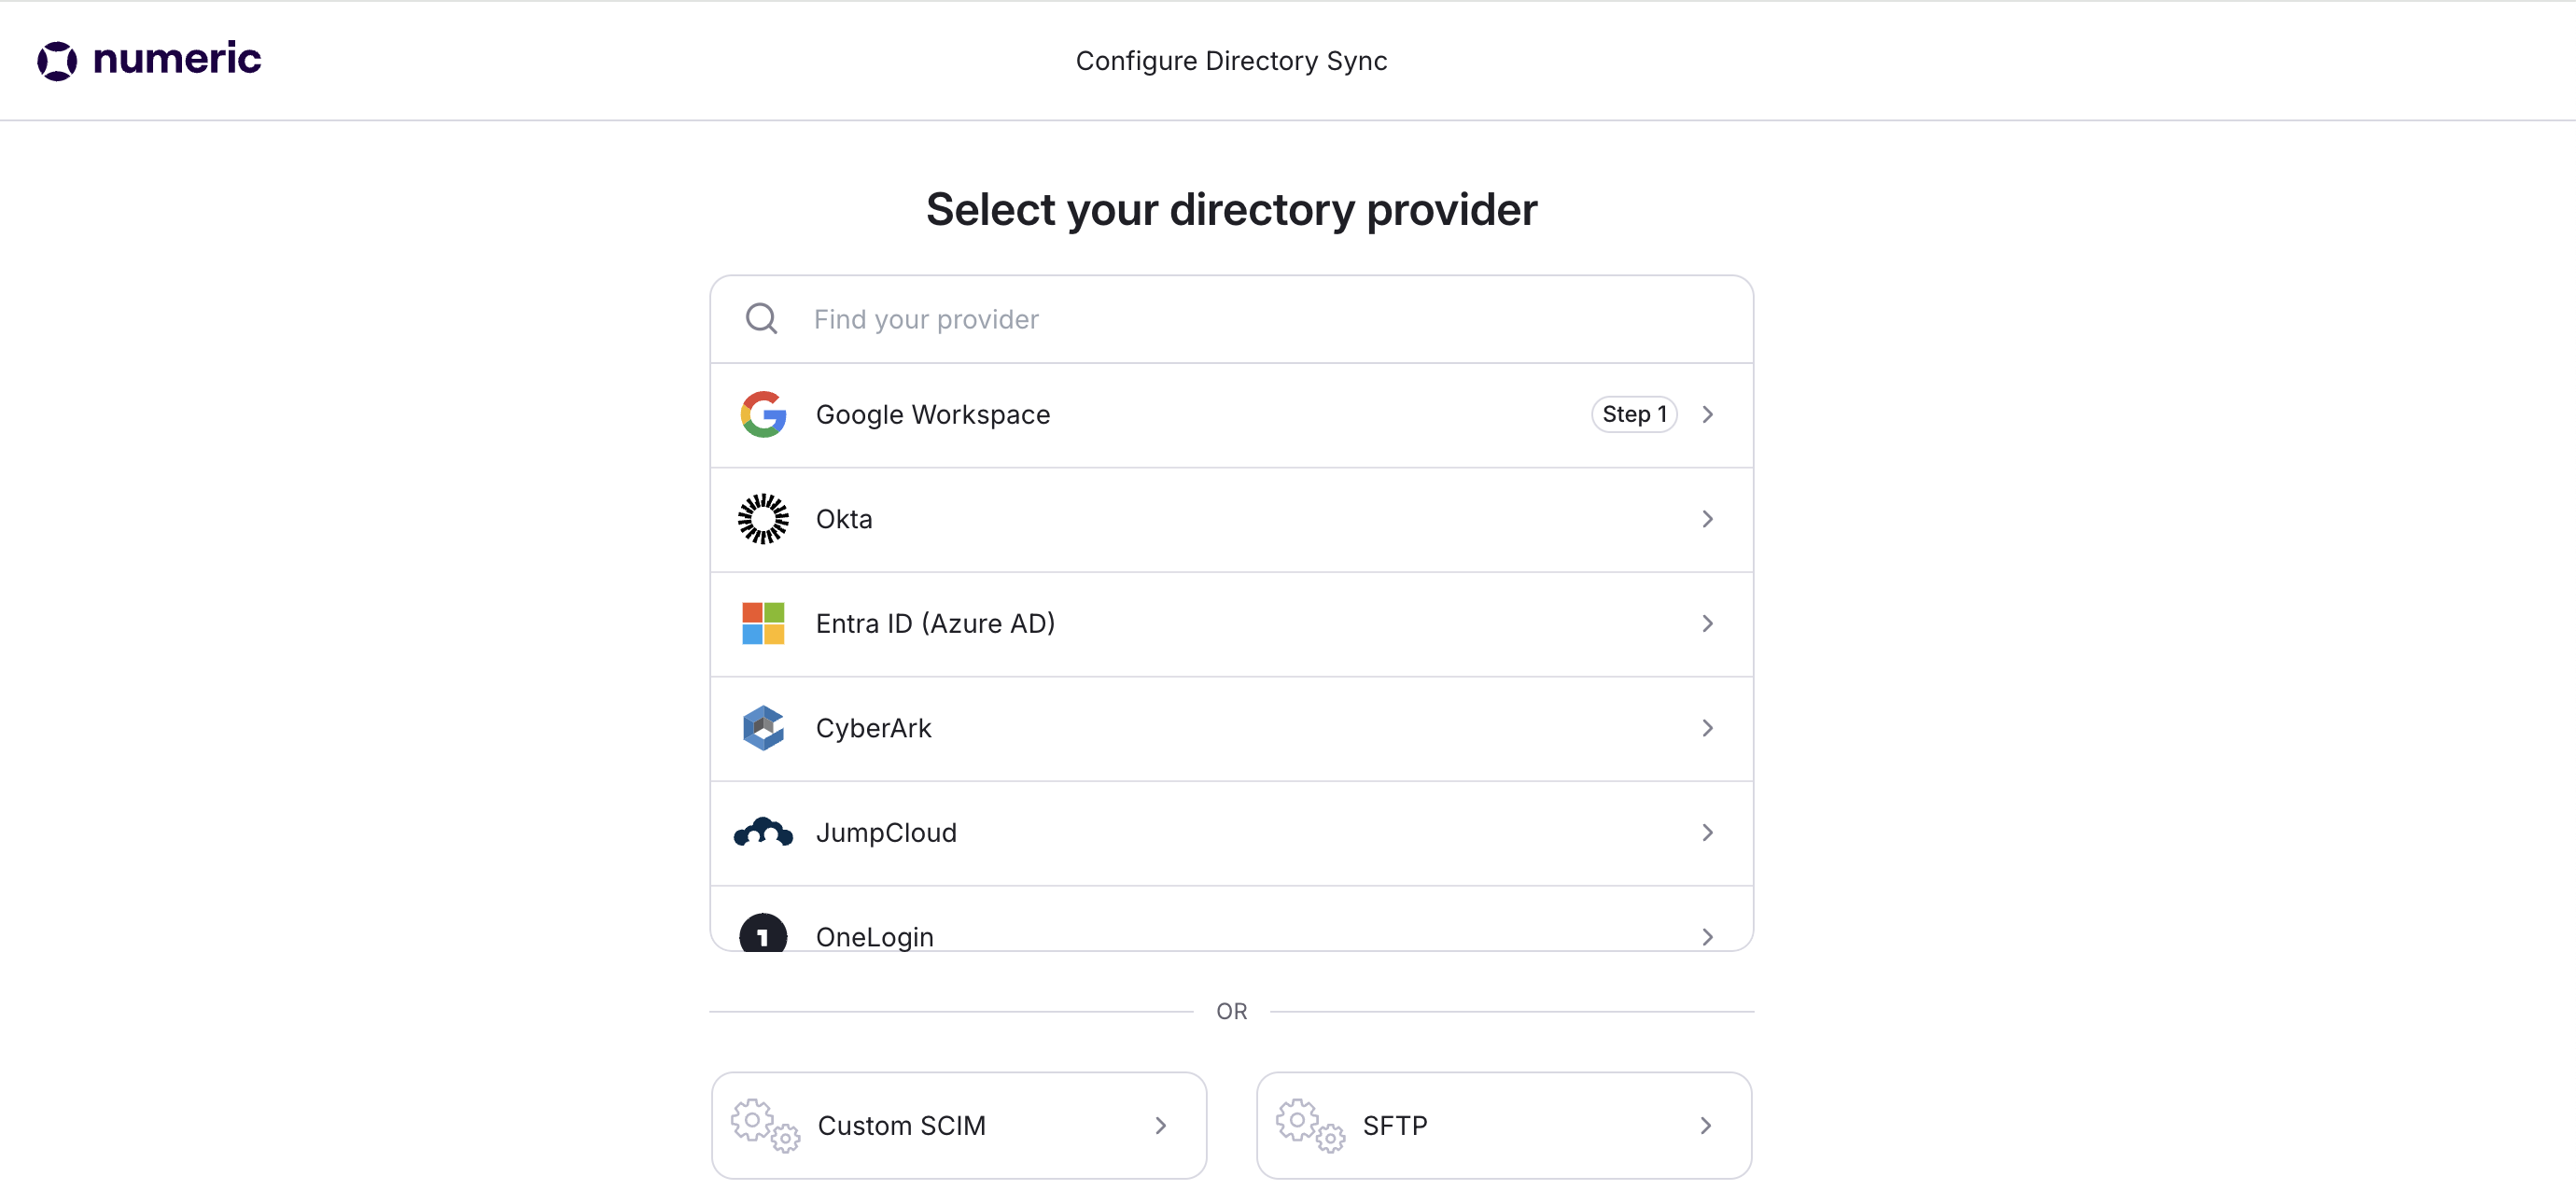
Directory Sync Configuration
Click the setup link and select
Google Workspace as your directory provider.
Follow the on-screen instructions to grant access to your Google Workspace.
Select Google Workspace Groups
Choose all applicable Google Workspace Groups for provisioning. These groups will determine security settings and role assignments within Numeric.
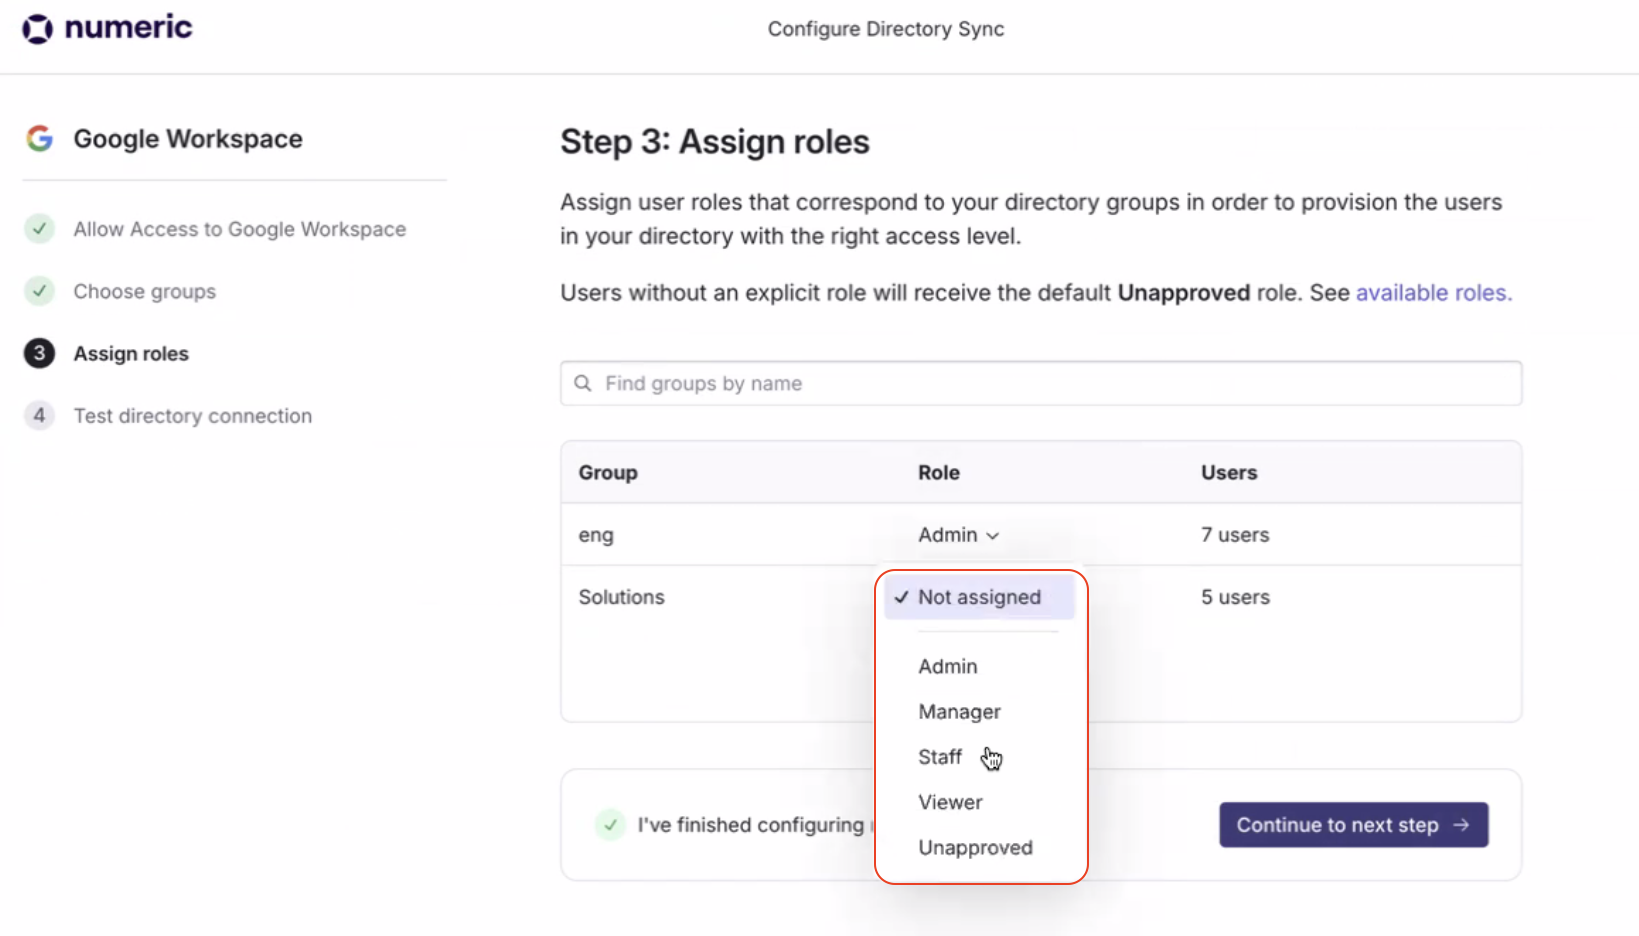
Assign Roles to Groups
Assign a Numeric role to each Google Workspace Group. Roles correspond to the permissions users in the group will have within Numeric.
For simplicity, we recommend naming groups as follows and assigning roles accordingly (Group → Role):
Numeric Admin → Administrator
Numeric Manager → Manager
Numeric Staff → Staff
Numeric Viewer → Viewer
Numeric Unapproved → Unapproved
There would generally not be a reason to set a group to this role.
Create New Groups (As Needed)
If you need to create new groups for your organization, refer to Option 1 of
Add Members to Groups
Add users to the appropriate groups based on the roles they should have in Numeric.
Test the Directory Connection
Once roles are configured for all groups, click
Continue to next step and test the directory connection.
After the initial sync, updates will automatically sync approximately every 30 minutes.
You can manage assignments anytime via your WorkOS admin portal.
Additional Resources
WorkOS Google Directory Sync (See Steps 3-5 & FAQ)